Heartfelt thanks to all for the positive comments, I was quite ill for a while (one major thing followed another!) but I'm settled and back to work now.
Your kind words have given me the confidence to continue in mu bold efforts

.
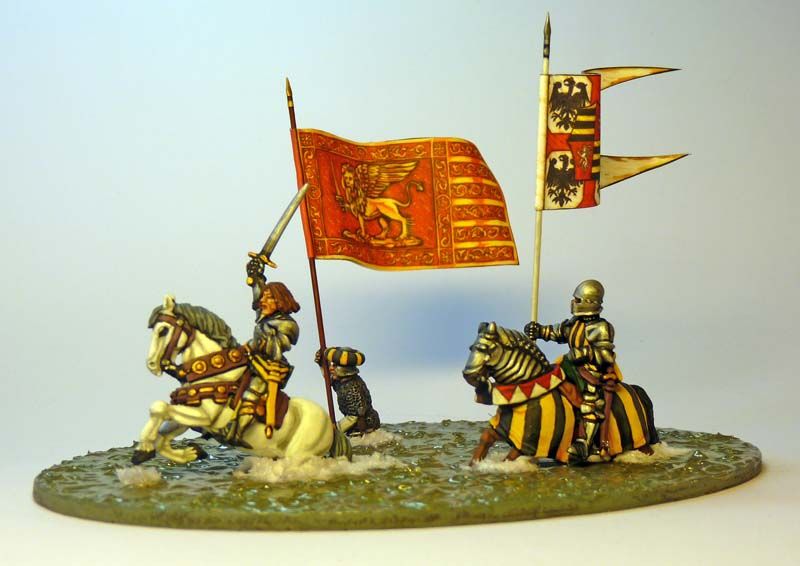
For those of you that have commented on the water, this is how I did it:
The first thing I did was to paint the base with suitable brown-ey green colours. At this stage it looks a bit naff and I was wondering what the hell I could do to get the water frothing effect. It took a few weeks but when I was tidying up my studio I found an old tub of GW Snow. Eureka moment! I drew very carefully around the figures (already painted) and then put Blue-tak in the places where the mini's would fit. It was just a case of filling the spaces around where the mini's would eventually be sitting and removing the Blue-tak (not as easy as it sounds- don't press the Blue-tak into the surface too much as I did!). I added a bit more of the snow and PVA mix where I thought the water would froth as Gonzaga et al crashed into the river and left it to set for a day.
The next part was actually the easiest! I used Vallejo Water Texture and this was applied with a thin Starbucks stirrer. I just made sure that I added a little more Water Texture than I might on a slow flowing river and modelled it with the stirrer.
There are some work in process shots on my blog here:
Splashing Through the River Taro:
http://gewalthaufen.blogspot.co.uk/2013 ... -taro.html
Gonzaga Crossing the River Taro Vignette II
http://gewalthaufen.blogspot.co.uk/2014 ... nette.html
Gonzaga Crossing the River Taro Vignette III (Final Chapter).
http://gewalthaufen.blogspot.co.uk/2014 ... te_15.html
I hope that helps if anyone wants to give it a go? Let me know if you need to know more.
Darrell.